Cultured butter is much more than your average spread—it’s a culinary gem that transforms ordinary dishes into extraordinary delights. By combining traditional techniques with modern know-how, it offers a unique flavor profile and numerous health benefits. Let’s explore its origins, uses, and how to make it a staple in your kitchen.
Table of Contents
ToggleWhat is Cultured Butter?
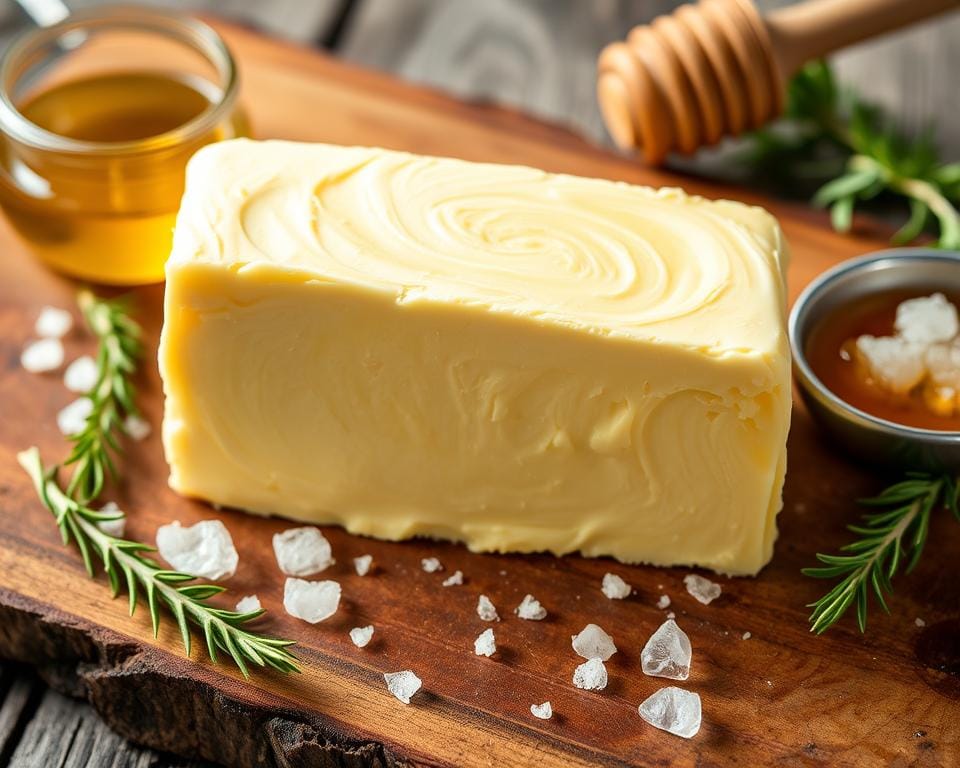
Cultured butter starts with heavy cream that’s fermented with lactic acid bacteria, creating a tangy, rich, and creamy butter unlike the regular kind. While traditional butter is churned directly from cream, cultured butter goes through a fermentation process, giving it a more complex flavor and enhanced nutritional profile.
Why Cultured Butter is Special
Flavor and Texture
The tanginess of cultured butter adds a depth that makes it perfect for both sweet and savory recipes. It has a luxurious, velvety texture and a slightly nutty undertone that elevates even the simplest meals.
Health Benefits
Rich in probiotics, cultured butter can support gut health and digestion. When made from grass-fed cream, it’s also packed with vitamins A, D, and K2, along with omega-3 fatty acids.
A Journey Through Tradition
Cultured butter has a rich history, particularly in European cuisines. From French kitchens, where it’s used in pastries, to Scandinavian households, where it’s a staple on the table, this butter has been celebrated for centuries. During my visit to a small dairy farm in Brittany, I watched butter being churned by hand—a labor of love that resulted in the most flavorful butter I’d ever tasted.
How is Cultured Butter Made?
1. Fermentation
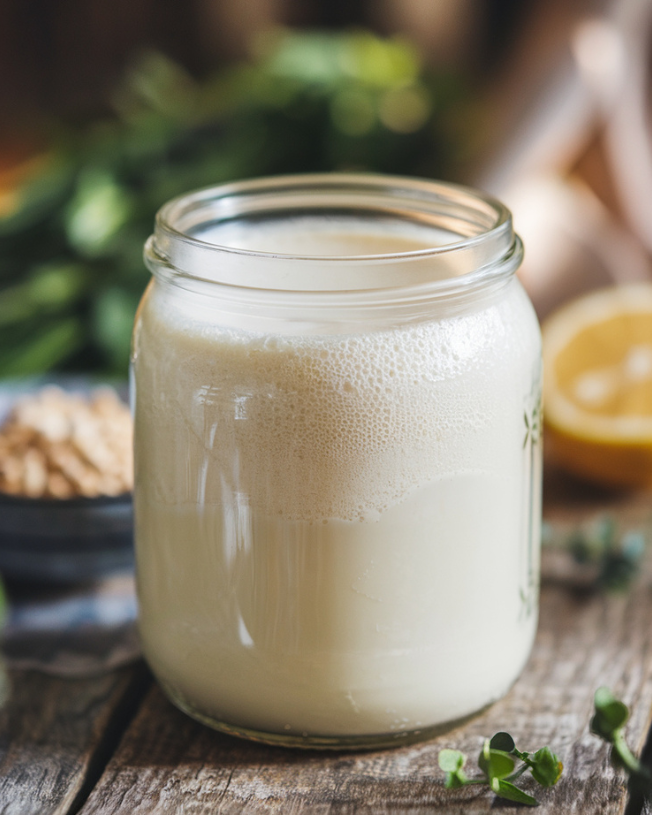
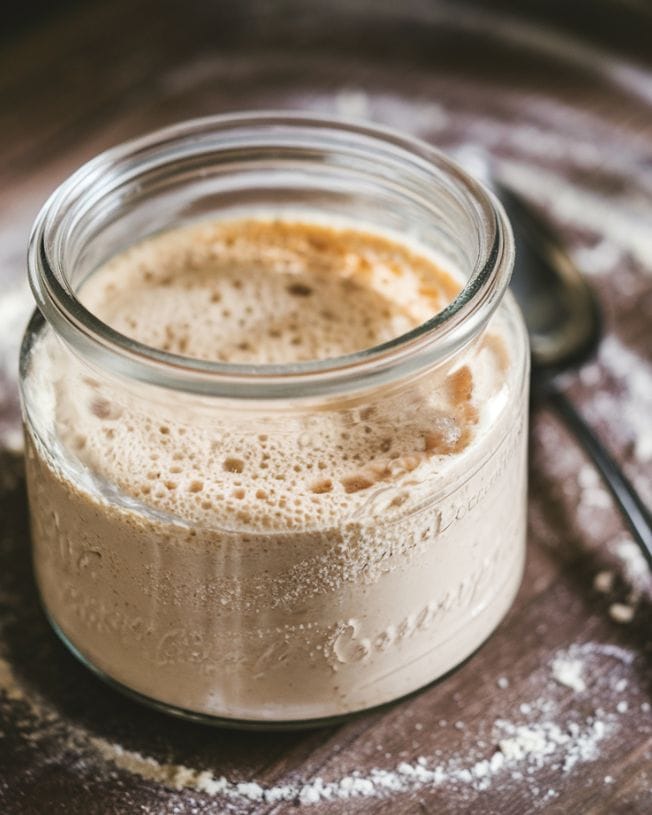
Heavy cream is mixed with a starter culture (like buttermilk or yogurt) and left to ferment at room temperature for 12-24 hours. This process develops the characteristic tangy flavor.
2: Churning
Once fermented, the cream is churned until it separates into butterfat and buttermilk. The butterfat is washed and kneaded to remove excess liquid.
3. Shaping and Storage
The butter is shaped into blocks or rounds and stored in the refrigerator.
Pro Tip: Adding salt enhances flavor and helps preserve the butter longer.
Making Cultured Butter at Home
Creating cultured butter at home is simple and rewarding.
Ingredients
- 2 cups heavy cream (preferably grass-fed)
- 2 tablespoons buttermilk or yogurt as a starter culture
Instructions
- Mix the cream with the starter culture in a clean bowl.
- Cover with a clean cloth and let it sit at room temperature for 12-24 hours.
- Chill the fermented cream, then churn it using a stand mixer or hand churner.
- Separate the buttermilk, then gently rinse the butter with cold water to remove any residual whey.
- Knead to remove any remaining liquid, and shape it as desired.
If you enjoyed this recipe, I'd love to hear your thoughts! Please leave arating
and share your experience in thecomments below.
Culinary Uses for Cultured Butter
Baking
Cultured butter’s tangy notes enhance the flavor and texture of baked goods. Croissants, cookies, and cakes benefit immensely from its richness.
Cooking
Use it for sautéing vegetables, finishing sauces, or spreading on freshly baked bread. Imagine a warm baguette slathered with garlic-herb cultured butter—heavenly!
Spreading
Simply enjoy it on toast, crackers, or pancakes for a simple yet indulgent treat.
Dietary Variations
Cultured butter can be adapted to fit various dietary needs.
Vegan Alternatives
Swap heavy cream with coconut cream and use vegan probiotics to create a dairy-free version with a similar tangy taste.
Flavor Variations
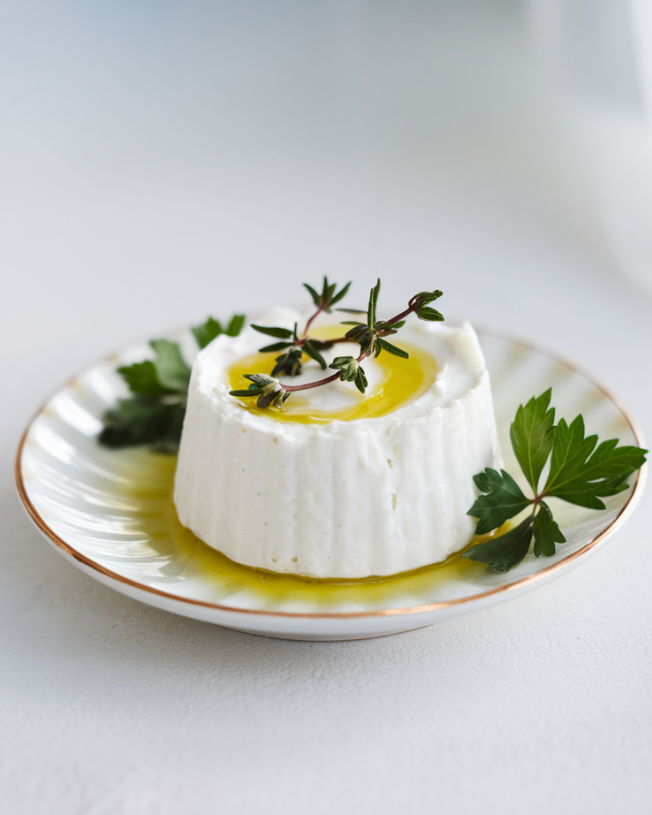
Infuse your butter with herbs like rosemary or thyme, or add citrus zest for a refreshing twist.
Top Brands
- Vermont Creamery: Known for its rich and tangy cultured butter.
- Kerrygold: Offers grass-fed options with a creamy texture.
More Cultured Dairy Recipe you’ll love:
Mastering Cultured Butter: Why & How
Ingredients
- Heavy Cream
- 2 cups preferably organic and high-quality for richer flavor
- Look for cream labeled “pasteurized” rather than “ultra-pasteurized” to encourage better fermentation.
- Starter Culture or Buttermilk
- 2 tablespoons of active cultured buttermilk plain yogurt, or a powdered starter culture.
- Introduces the essential bacteria needed to kick-start the fermentation process.
- Salt Optional
- ½ teaspoon fine sea salt (adjust to taste, or omit for unsalted butter).
- Ice Water
- A bowl of cold water for rinsing the butter.
Instructions
Prepare the Cream:
- Pour heavy cream into a clean glass jar or mixing bowl. If using pasteurized cream, you can add a tablespoon of live-culture yogurt or buttermilk to introduce the necessary bacteria.
Ferment the Cream:
- Cover the jar with a clean cloth and leave it in a warm spot (70–75°F) for 12–24 hours until it thickens slightly and develops a tangy aroma.
Churn the Cream:
- Pour the fermented cream into a stand mixer, food processor, or jar with a lid. Whip or shake until the cream separates into butter solids and liquid buttermilk.
Separate the Buttermilk:
- Strain the mixture through a fine sieve to collect the buttermilk. Reserve the buttermilk for baking or cooking.
Wash the Butter:
- Rinse the butter solids under cold water, kneading gently until the water runs clear. This step ensures a longer shelf life for your butter.
Season (Optional):
- If desired, mix in sea salt or herbs for flavored butter.
Store the Butter:
- Form the butter into a ball or press it firmly into a mold of your choice. Wrap it tightly and refrigerate for up to a week, or freeze for longer storage.
Video
Notes
- Fermentation Patience: Allowing the cream to culture overnight is key. This step develops the rich, tangy flavor that makes cultured butter unique. Don’t rush it!
- Cold Rinsing Matters: Rinse the butter under cold water thoroughly after straining the buttermilk. This step ensures your butter stays fresh longer by removing residual buttermilk.
- Experiment with Add-ins: Try mixing in fresh herbs, garlic, or a pinch of flaky salt for flavored butter that’s perfect for spreading on bread or melting over vegetables.
- Store Smart: Wrap the butter tightly in parchment or store it in an airtight container to maintain freshness.
- Buttermilk Bonus: Save the strained buttermilk! It’s perfect for pancakes, biscuits, or marinades.
A Few Recipe Notes
- Letting your butter rest in the fridge for 30 minutes before use enhances its texture and flavor.
- Always store your butter in an airtight container to keep it fresh longer.
- Use the leftover buttermilk in pancakes, biscuits, or marinades for zero waste!
Why Cultured Butter is Worth It
Cultured butter isn’t just an ingredient; it’s an experience. Its rich flavor, health benefits, and versatility make it a kitchen essential. Whether you make it at home or buy it from a trusted brand, cultured butter is sure to elevate your culinary creations.
Try making your cultured butter this weekend, or share your favorite ways to use it in the comments below. Happy butter-making!


 rating
  comments below.