Mastering Cultured Butter: Why & How
This homemade cultured butter recipe transforms simple cream into a rich, tangy treat. Perfect for spreading on toast, baking, or adding a gourmet touch to your dishes. With just two ingredients and a little patience, you can enjoy butter that's fresher, tastier, and tailored to your flavor preferences. Try it and experience the magic of traditional butter-making in your own kitchen!
Ingredients
- Heavy Cream
- 2 cups preferably organic and high-quality for richer flavor
- Look for cream labeled "pasteurized" rather than "ultra-pasteurized" to encourage better fermentation.
- Starter Culture or Buttermilk
- 2 tablespoons of active cultured buttermilk plain yogurt, or a powdered starter culture.
- Introduces the essential bacteria needed to kick-start the fermentation process.
- Salt Optional
- ½ teaspoon fine sea salt (adjust to taste, or omit for unsalted butter).
- Ice Water
- A bowl of cold water for rinsing the butter.
Instructions
Prepare the Cream:
- Pour heavy cream into a clean glass jar or mixing bowl. If using pasteurized cream, you can add a tablespoon of live-culture yogurt or buttermilk to introduce the necessary bacteria.
Ferment the Cream:
- Cover the jar with a clean cloth and leave it in a warm spot (70–75°F) for 12–24 hours until it thickens slightly and develops a tangy aroma.
Churn the Cream:
- Pour the fermented cream into a stand mixer, food processor, or jar with a lid. Whip or shake until the cream separates into butter solids and liquid buttermilk.
Separate the Buttermilk:
- Strain the mixture through a fine sieve to collect the buttermilk. Reserve the buttermilk for baking or cooking.
Wash the Butter:
- Rinse the butter solids under cold water, kneading gently until the water runs clear. This step ensures a longer shelf life for your butter.
Season (Optional):
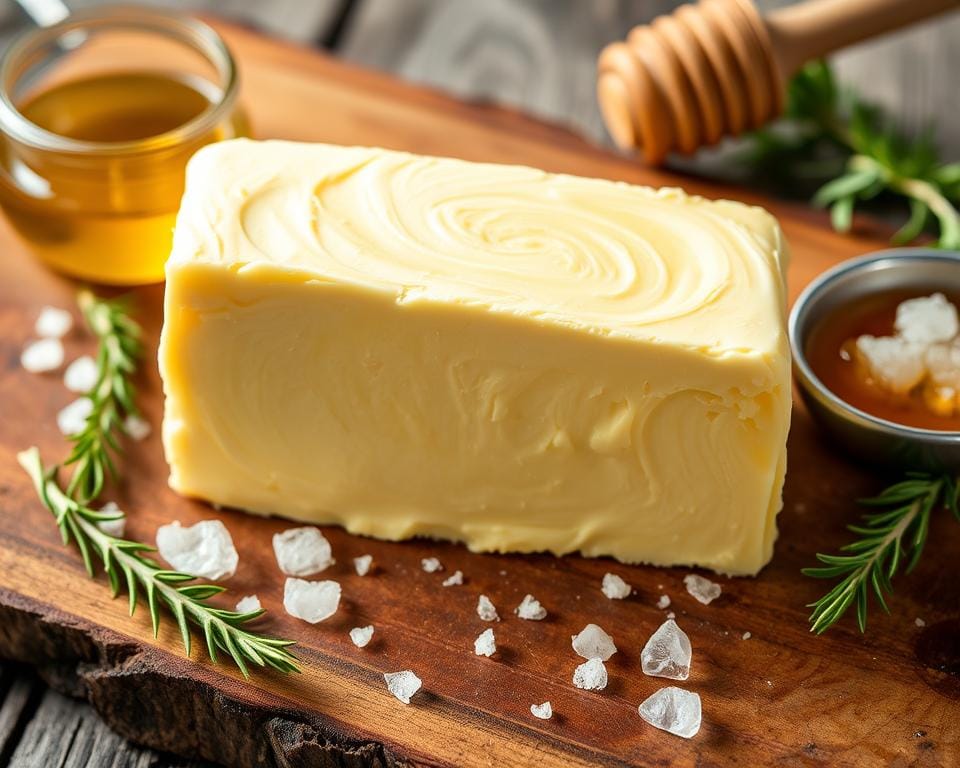
- If desired, mix in sea salt or herbs for flavored butter.
Store the Butter:
- Form the butter into a ball or press it firmly into a mold of your choice. Wrap it tightly and refrigerate for up to a week, or freeze for longer storage.
Video
Notes
- Fermentation Patience: Allowing the cream to culture overnight is key. This step develops the rich, tangy flavor that makes cultured butter unique. Don’t rush it!
- Cold Rinsing Matters: Rinse the butter under cold water thoroughly after straining the buttermilk. This step ensures your butter stays fresh longer by removing residual buttermilk.
- Experiment with Add-ins: Try mixing in fresh herbs, garlic, or a pinch of flaky salt for flavored butter that’s perfect for spreading on bread or melting over vegetables.
- Store Smart: Wrap the butter tightly in parchment or store it in an airtight container to maintain freshness.
- Buttermilk Bonus: Save the strained buttermilk! It’s perfect for pancakes, biscuits, or marinades.