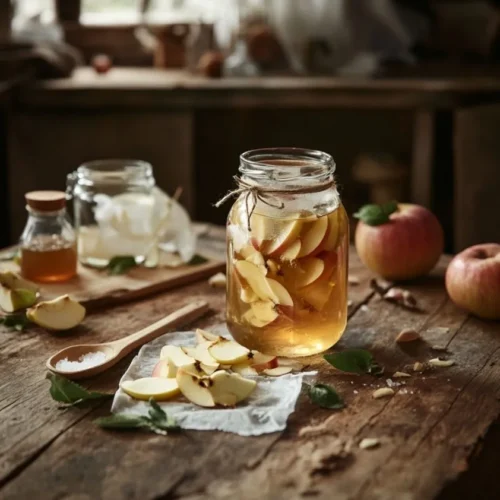
How To Make Apple Cider Vinegar That You'll Love
Create your own apple cider vinegar using just a few basic ingredients!This easy recipe turns fresh apples into a tangy, health-boosting vinegar perfect for cooking and wellness.
Ingredients
- Use fresh apples or apple scraps (peels and cores). Opt for organic apples if possible.
- Sugar (cane sugar works best) kickstarts fermentation. but you can also use honey as a natural alternative.
- Use filtered or distilled water to avoid chlorine or impurities.
- Use a large glass jar for proper fermentation.
- Cheesecloth or Clean Cloth: This will cover your jar keeping out debris while allowing airflow.
- Use a rubber band to secure the cloth for a clean fermentation.
Instructions
- Transforming simple ingredients into homemade apple cider vinegar is easier than you think. Follow these step-by-step instructions to get it just right:
Prepare the Apples
- Wash your apples thoroughly to remove any dirt or pesticides.
- If using whole apples, chop them into small pieces. If using scraps, ensure they’re fresh and free of mold or bruising.
Mix the Ingredients
- Place the apple pieces or scraps in a large glass jar, filling it about three-quarters full.
- Dissolve 1–2 tablespoons of sugar in filtered water (enough to cover the apples) and pour it over the fruit. Ensure the apples are fully submerged.
Secure and Cover
- Cover the jar with a clean cheesecloth or cloth to allow airflow while keeping dust and insects out. Secure it with a rubber band.
Primary Fermentation
- Store the jar in a dark, room-temperature location (about 70°F/21°C) for 1–2 weeks. Stir the mixture daily to prevent mold and encourage fermentation. You’ll notice bubbling as the natural fermentation process begins.
- Strain and Continue Fermentation
- After 1–2 weeks, strain the liquid to remove the apple solids. Transfer the liquid back into the jar and cover it again with the cloth.
- Let it ferment for another 3–4 weeks, stirring occasionally. During this time, the vinegar will develop its tangy flavor and signature aroma.
- Test and Store
- Taste the vinegar to check its acidity. Once it reaches your desired tanginess, transfer it to a sterilized bottle with a tight lid. Store in a cool, dark place.
Pro Tip:
- Patience is key! Fermentation times may vary depending on the temperature and the sweetness of your apples, so don’t rush the process.
- You’ve just made your own apple cider vinegar! Now, let’s explore some tips to customize and enhance your creation.
Video
Notes
- Apples Selection: Use fresh, organic apples. Sweet varieties result in milder vinegar, while tart apples create a sharper taste. Cores and peels can be included to reduce waste.
- Fermentation Starter: Adding raw, unpasteurized apple cider vinegar with the "mother" can speed up fermentation, but it's optional.
- Sweeteners: Adding sugar or honey is optional but can enhance the fermentation process by feeding the natural bacteria.
- Equipment Care: Use sterilized glass jars or crocks. Avoid metal containers, as vinegar’s acidity can react with metal.
- Environment: Maintain a temperature between 60–80°F (15–27°C). Warmer temperatures accelerate fermentation, but excessive heat may kill beneficial bacteria.
- Monitoring: Stir daily during the initial fermentation phase to prevent mold growth and ensure even fermentation.
- Signs of Progress: Expect a cider-like aroma after 1–2 weeks, bubbling during fermentation, and eventual development of a “mother.”
- Straining: Remove apple solids after 1–2 weeks for clearer vinegar and continue fermenting the liquid.
- Timeframe: Total fermentation time is typically 4–6 weeks, depending on desired acidity.
- Storage: Transfer to sterilized bottles and store in a cool, dark place. Homemade ACV can last for years if properly sealed.
- Uses: Excellent for cooking, cleaning, or as a health tonic when diluted.